SELECT YOUR LANGUAGE
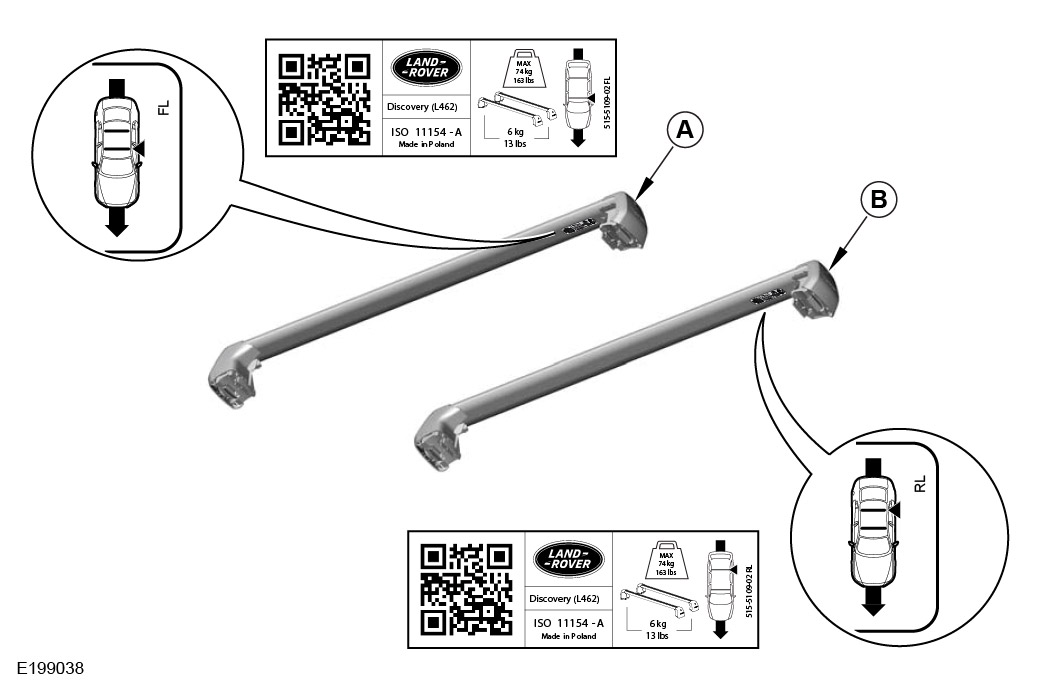
Inspect and identify the front and rear cross bars, by checking the labels located on the underside of the cross bars.
Open the roof cross bar clamping handle cover.
The roof cross bar foot must be in the open position and not clamped.
Using the supplied short torque tool (D), partially loosen the 2 fixings as illustrated.
Identify the 4 holes on the inside of the roof rails.
Inspect that the orientation of the roof cross bars is correct in relation to the vehicle, as illustrated, before installation.
Offer up the front roof cross bar (A) into position.
Engage the roof cross bar onto the roof rail as illustrated. The dowel in the foot of the roof cross bar must engage into the hole on the inside of the roof rail.
Clamp the roof cross bar to the roof rail.
Using the supplied short torque tool (D), tighten the 2 fixing to the correct torque as illustrated. Torque: 9Nm
Using the long torque tool (F), tighten the fixing to the specified torque. This will fasten the clamping handle in position. Torque: 2Nm
Replace the roof cross bar clamping handle cover.
Install and cut the cross bar finishers (C) on both front and rear cross bars.
Offer up the front roof cross bar (B) into position.
Procedure for removing the 2 roof cross bars. Remove roof cross bar (A) first and the cross bar (B) second.
Remove the roof cross bar from the roof rail as illustrated and lift the roof cross bar away from the vehicle.