SELECT YOUR LANGUAGE
Inspect the operation of the spring loaded fastener on both sides of the loadspace partition net (A) before installation.
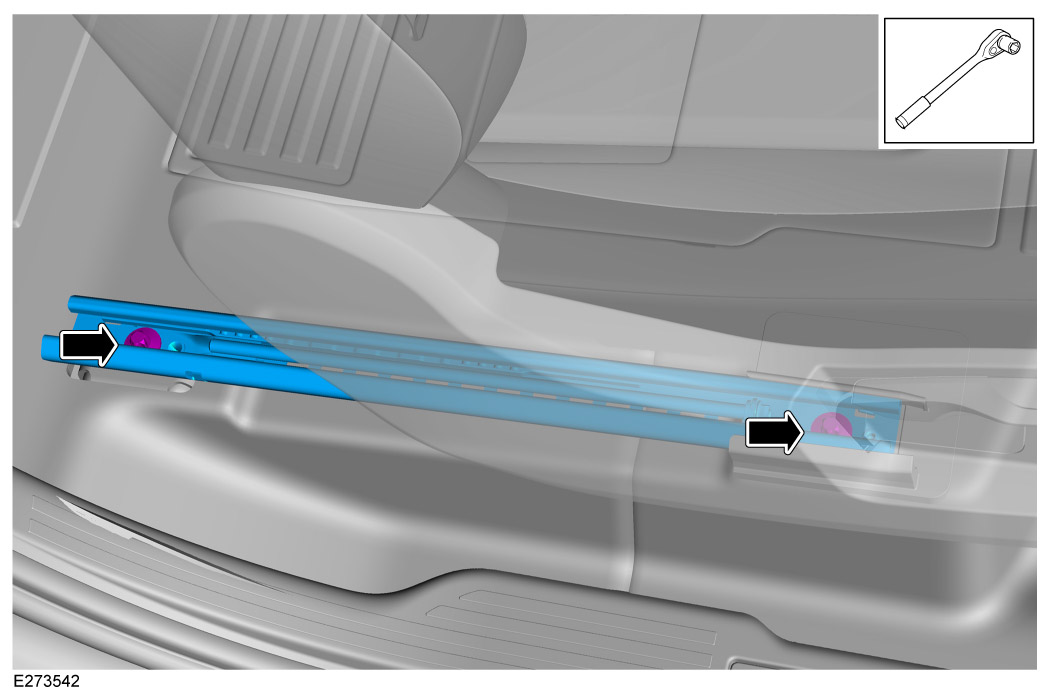
Move front seat back and remove and retain the forward front seat rail fixing.
Move front seat forward and remove and retain the rear front seat rail fixing.
Remove and retain the plastic trim from the end of the outboard seat rail. To aid removal the seat rail must be raised.
Install the bracket (C) to the outside seat rail.
Install, but do not fully tighten x2 original seat rail fixings.
Install the lower fixing plate (D) to the underside of the bracket (C).
Install the upper fixing plate (E).
Fully tighten the x2 original seat rail fixings. Torque: 48Nm
Use a suitable trim tool to open the loadspace partition mounting slot cover on both sides of the vehicle.
Lower 2nd row seats (refer to Owner's Handbook if required). Then manoeuver the loadspace partition net (A) into the vehicle as illustrated.
Install the loadspace partition net spring loaded fasteners (A) into the loadspace partition mounting slot.
Secure the loadspace partition net straps to the anchor points as illustrated on both sides of the vehicle.
Make sure the loadspace partition net and all fasteners have a safe and correct installation. The straps must be tight and straight.