SELECT YOUR LANGUAGE
Clean the illustrated surface. Inspect the area is free of dirt and dust.
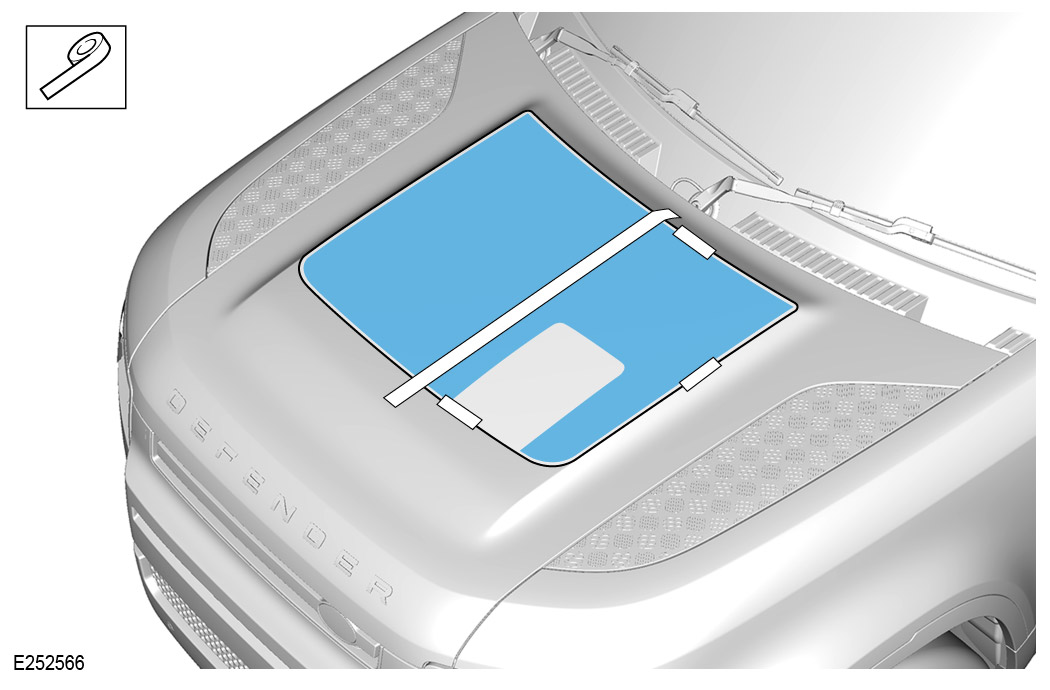
Place the decal (B) into position, evenly aligning the edges of the decal with the edges of the raised hood section.
Using suitable tape, fasten down the right side of the decal (B) in position on 3 sides, covering half its width. Inspect the alignment.
Fold over the left half of the decal (B) that is not taped down.
Remove all tape and fold over the right half of the decal (B).
Peel away and remove the upper decal application tape.
Select the correct design for your vehicle, then place the decal (C) onto the hood in the area illustrated. Inspect that it lines up with the installed decal (B).
Using suitable tape, position the decal (C) and fasten down as illustrated.
Remove all tape and fold over the other half of decal (C).
This procedure requires the vehicle to remain in a dry, temperature controlled environment for a minimum of 24 hours after installation.