LAND ROVER ACCESSORY FITTING INSTRUCTIONS

VEHICLE :
PART NO :
KEYWORD :

LAND ROVER

DEFENDER

WHEEL ARCH PROTECTION - 90

VPLEP0381 / VPLEP0382 / VPLEP0547 / VLPLE0027 / VLPLE0028

FITTING INSTRUCTION

WARNING
  • Incorrectly installed accessories can be dangerous. Read these instructions carefully before ordering and installing this accessory to make sure it is compatible with your vehicle. Always follow these instructions. If you have any questions, contact your nearest approved Jaguar Land Rover (JLR) retailer.
Accessory 20-23MY Part Number 24MY- Part Number 25MY- Part Number
Wheel Arch Protection - Grained VPLEP0381 VPLEP0381 VPLEP0381
Wheel Arch Protection - Grained, North American Specification (NAS) VPLEP0382 VPLEP0547 VPLEP0547
Wheel Arch Protection - Gloss Black N/A N/A VLPLE0027
Wheel Arch Protection - Gloss Black, North American Specification (NAS) N/A N/A VLPLE0028

Wheel Arch Protection - Grained (Bill of Materials)

NOTE
  • The NAS Market kit – VPLEP0547 – is designed for Defender 90 NAS Market vehicles from the 2024 model year onwards. The older VPLEP0382 kit is compatible only with 2020-2023 model year vehicles.
  • Refer to the images below to make sure all kit contents are present. The cleaning sachets and applicator are fastened to the card dividers. Remove these items before disposing of the packaging.

Wheel Arch Protection - Gloss Black (Bill of Materials)

NOTE
  • Refer to the images below to make sure all kit contents are present. The cleaning sachets and applicator are fastened to the card dividers. Remove these items before disposing of the packaging.

Warnings / Cautions / Notes

WARNING
  • For your safety, you must wear suitable personal protective equipment when using the cleaner or adhesion promoter.
CAUTION
  • Install one side of the vehicle before the other, as the adhesion promoter adhesive can dry quickly.
  • Protect the surrounding paintwork and trim to avoid damage.
  • If protective wax has been applied to the vehicle, it must be thoroughly removed before proceeding.
  • Make sure the vehicle and parts being installed are clean and dry at the correct temperature. In hot climate countries the panel temperatures could be greater than 40°C if the vehicle is left in the sun. Move the vehicle into the workshop and allow 2 hours to reach workshop temperatures before installing the accessory. Use infa-red thermometer JLR-60051001 to inspect the vehicle panel temperature is in the correct range before installing the accessory (see image below for the correct temperature range).
NOTE
  • These instructions illustrate the left side of the vehicle. The right side is installed in a similar manner.
Fitting Instruction
1

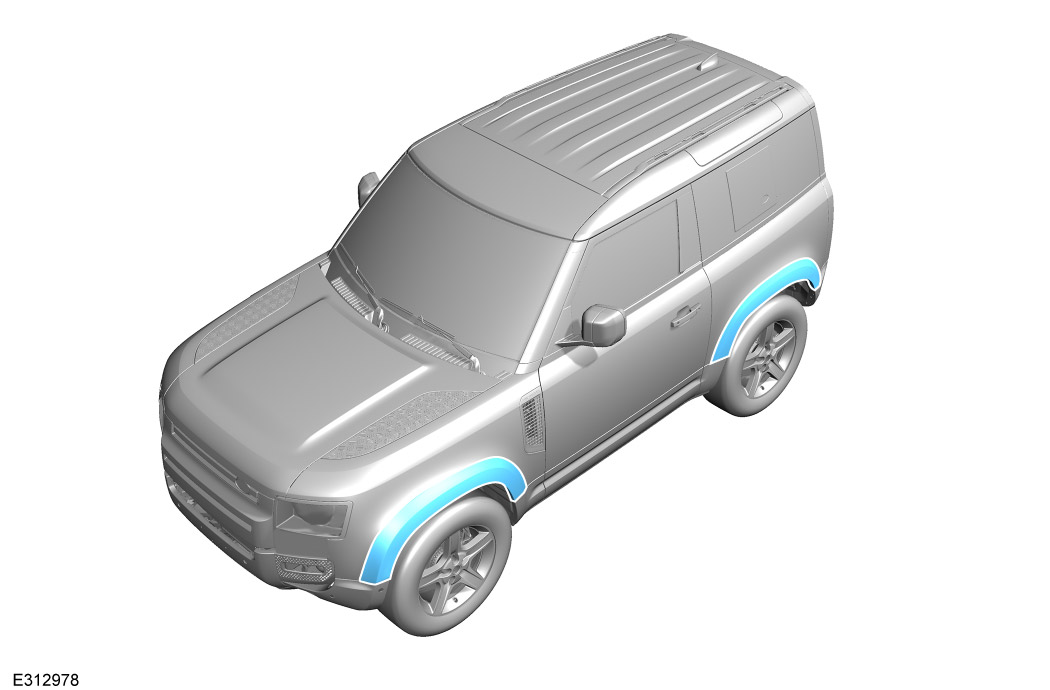
If you are only replacing an existing wheel arch protection panel, see the following links. Otherwise, proceed to the next step.

  • Log into TOPIX and enter your 'Vehicle Identification Number' and navigate to 'Workshop Manual' section '102-03 Accessory Information / Exterior / Wheel Arch Protection - Replacement - 90'.
2
NOTE
  • Determine the part's intended side (left or right) by checking for a marking on the reverse side.

Verify that all clips are present and correctly positioned on the front and rear wheel arch protection panels. Replace any missing clips before installation.

3
CAUTION
  • Remove any remaining clips left behind from the vehicle body.

Remove the front wheel arch trim.

  1. Using a plastic trim tool, carefully remove the wheel arch trim that is attached with x9 clips.
  2. If present, disconnect the side marker lamp connector while removing the wheel arch.
4
NOTE
  • Inspect all trim clips and replace any that are damaged. Trim clips must be correctly installed to the trim panel. Failure to follow this instruction will result in a rattle or vibration.

Remove the rear fender moulding.

  1. Open the door.
  2. Remove the rear fender moulding attached by x4 clips.
5
CAUTION
  • Remove any remaining clips left in the vehicle body.

Remove the rear wheel arch trim.

  1. Using a plastic trim tool remove the wheel arch trim attached by x10 clips.
  2. If present disconnect the side marker lamp while removing the wheel arch.
6
NOTE
  • The clips must not engage into the body at this stage.

Offer up the front wheel arch protector (A) for masking purposes only.

  • Temporarily fasten the wheel arch protector to the body using a few strips of suitable tape.
7

Apply tape for protection above the front wheel arch protector (A).

  1. Apply suitable tape to mask the top edge of the wheel arch protector on the vehicle body.
  2. Remove the wheel arch protector.
8
NOTE
  • The clips must not engage into the body at this stage.

Offer up the rear wheel arch protector (B) for masking purposes only.

  • Temporarily fasten the wheel arch protector to the body using a few strips of suitable tape.
9

Apply tape for protection above the rear wheel arch protector (B).

  1. Apply suitable tape to mask the top edge of the wheel arch protector on the vehicle body.
  2. Remove the wheel arch protector.
10
CAUTION
  • Use one cleaner sachet per wheel arch. When opened, use the sachet immediately on the area being worked on, as it will dry out quickly.

Clean the area illustrated on both front and rear wheel arches, focusing only on the side currently being worked on.

  1. Using the supplied cleaner sachet, clean a 20mm strip on the vehicle body from the lower edge of the tape on both front and rear wheel arches.
  2. Allow a minimum of 2 minutes for drying before proceeding.
11
NOTE
  • If using the promoter sachet, use one per wheel arch. When opened, use the sachet immediately, as it will dry out quickly.
  • If using the promoter pen, apply one to each side of the vehicle. When opened, use the pen immediately, as it will dry out quickly.
  • To activate the adhesion promoter, hold the tube between your finger and thumb and squeeze the middle of the tube until you hear a clicking sound. Gently shake the tube, and the fluid will flow to the tip.

Apply the adhesion promoter, either using the pen or the wipe sachet, to both front and rear wheel arches, focusing only on the side currently being worked on.

  1. Using the supplied adhesion promoter, apply a 20mm strip to the vehicle body from the lower edge of the tape on both front and rear wheel arches.
  2. Allow a minimum of 5 minutes for drying. During this time, remove all masking tape from the vehicle.
12

Install the front wheel arch protector (A).

  1. If installing the wheel arch protector with indicator lamps, connect the indicator lamp connector first.
  2. Attach the lower tabs to the vehicle body trim.
  3. Push the wheel arch protector into the vehicle until it clips into place.
13

Peel away the adhesion strip.

  • Apply consistent pressure to the wheel arch protector while peeling the backing away from the adhesion strip.
  • If the backing for the adhesion strip becomes detached or cannot be accessed, carefully peel the backing away from the other end of the strip.
14

Use a lint-free cloth to apply pressure to the surface of the front wheel arch protector, focusing on the area of the adhesive tape.

15

Inspect the front wheel arch protector.

  • Note that the new wheel arch protection is designed with a deliberate overhang on the front and rear edges, which means it will not sit completely flush with the existing vehicle trim.
  • Carefully inspect for any gaps between the wheel arch protector and the vehicle body. If any gaps are visible, apply firm pressure until the protector adheres securely.
16

Install the rear wheel arch protector (B).

  1. If installing the wheel arch protector with indicator lamps, connect the indicator lamp connector first.
  2. Attach the lower tabs to the vehicle body trim.
  3. Push the wheel arch protector into the vehicle until it clips into place.
17

Install the rear fender moulding.

  1. Push the rear fender moulding into the vehicle until it clips into place.
  2. Close the door.
18

Peel away the adhesion strip.

  • Apply consistent pressure to the wheel arch protector while peeling the backing away from the adhesion strip.
  • If the backing for the adhesion strip becomes detached or cannot be accessed, carefully peel the backing away from the other end of the strip.
19

Use a lint-free cloth to apply pressure to the surface of the rear wheel arch protector, focusing on the area of the adhesive tape.

20

Visually inspect the rear wheel arch protector.

  • Note that the new wheel arch protection is designed with a deliberate overhang on the front and rear edges, which means it will not sit completely flush with the existing vehicle trim.
  • Carefully inspect for any gaps between the wheel arch protector and the vehicle body. If any gaps are visible, apply firm pressure until the protector adheres securely.
  • Then repeat the installation process on the other side of the vehicle.
21
NOTE
  • This step 'ONLY' applies to vehicles with side marker lamps.

Test the side marker lamps. With the parking lamps or low beam headlights activated, visually confirm that all four side marker lamps are functioning correctly.

© Land Rover 2016